First one........Cut a backing piece and batting that measure 14-1/2” square. Make your “quilt sandwich” and then machine or hand-quilt the little top and add a binding of your choice.
 Another method for binding the candlemat is the one I chose for my project.......... I used Quilter's Dream Poly batting for my candlemat and Quilt Basting Spray to position my quilt sandwich pieces. I chose to cut a piece of batting larger than I needed, sprayed the basting spray on the batting, and then smoothed the top until there was not a wrinkle in sight. :-) Then I took my scissors and trimmed away the excess batting.
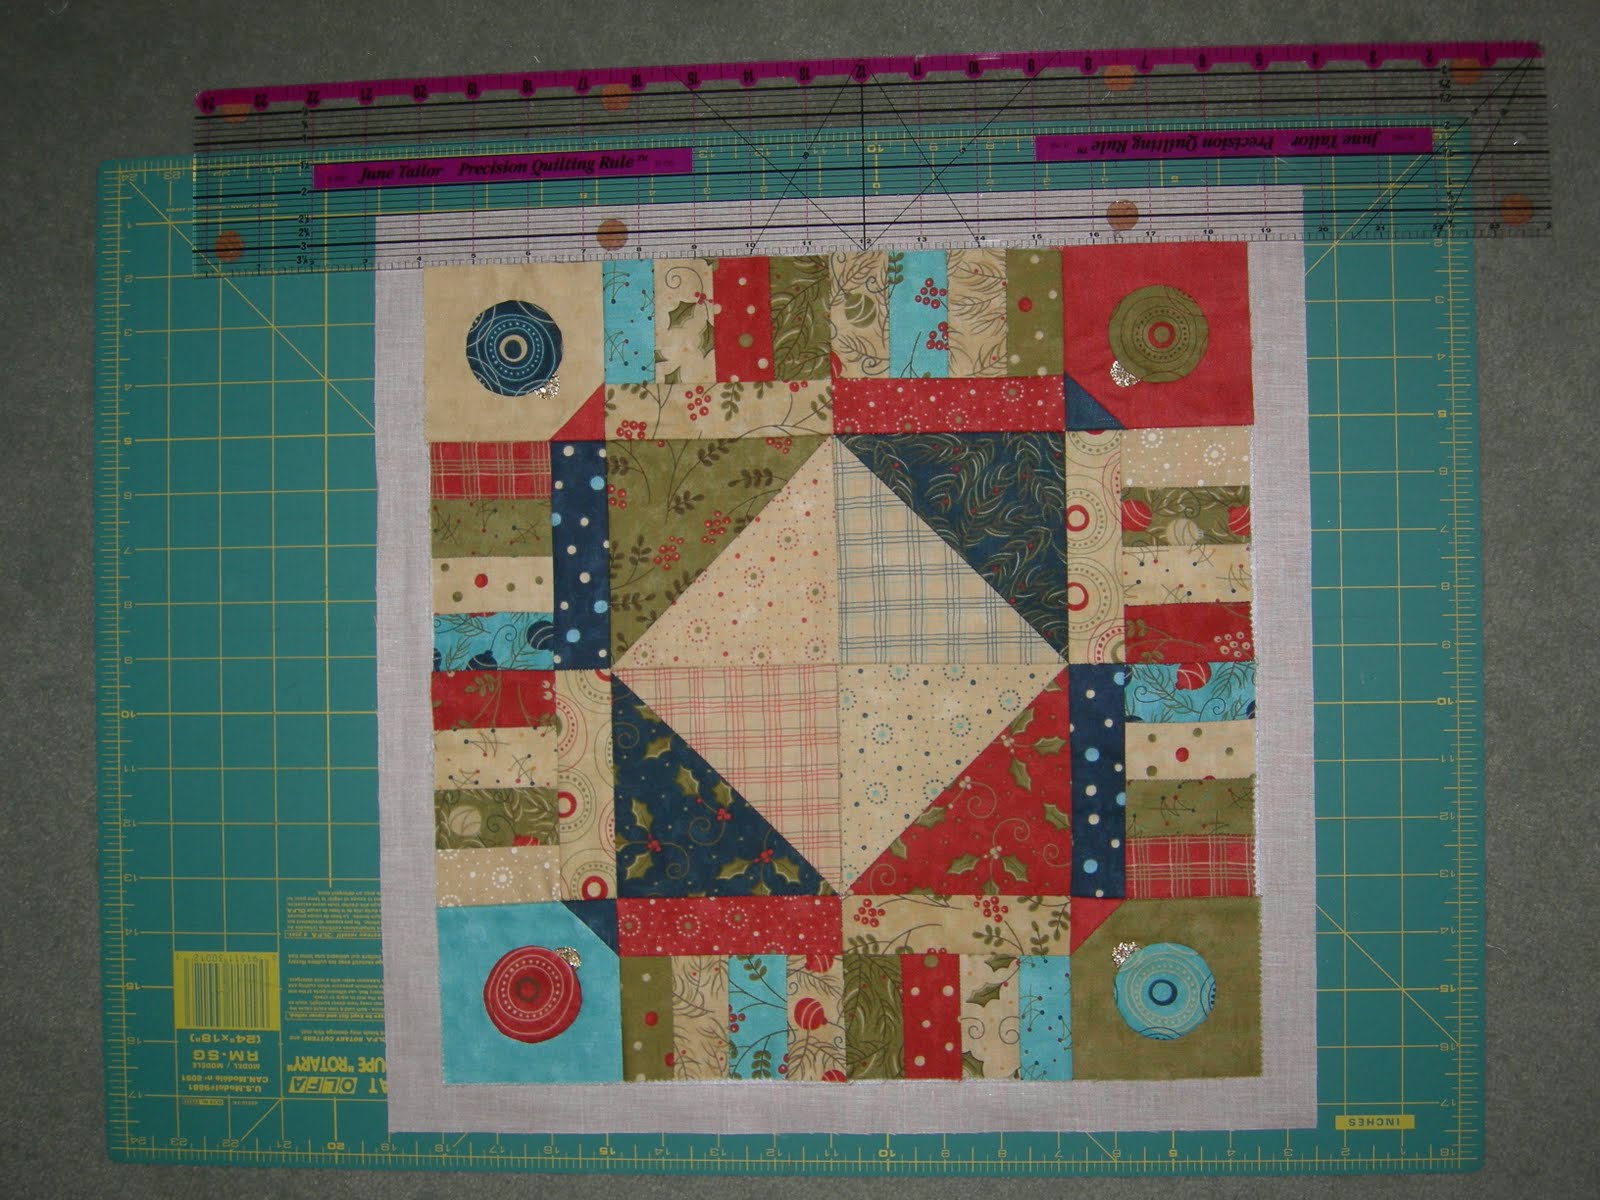
Cut a 16-1/2” backing square. Position candlemat top on batting square (trimmed to 14-1/2") and then center this in the middle of the backing square. Make sure that there is 1” all the way around the candlemat top.
 On right and left sides, fold over edges then press.
 I chose to handquilt my sample and used three strands of Autumn Leaves floss
 from The~Gentle~Art. I love their floss colors!!!
 So that my stitches were even, I placed 1/4" masking tape along seams
 So that my stitches were even, I placed 1/4" masking tape along seams
 and stitched along the edge of the tape.
 When the quilting is finished, pin two sides of the quilt sandwich as shown in the photo below.

 Next, you should snip out the little excess rectangle at the end of each corner.
See photo above and below........
 Then as if wrapping a package, you will fold over the corner and the end
to create mitered corners on your candlemat.

 Pin all corners and along the remaining two sides.
 Slipstitch around this border ............

 You can also use a blanket stitch or other decorative stitch to secure the border. Adding rick rack or other trim is also an option. I encourage you to use your creativity and make this little candlemat your own design!
 Your completed candlemat should resemble the basic design but beyond that………do whatever your creative little heart desires! Hope you enjoyed stitching!!
 When the quilting is finished, pin two sides of the quilt sandwich as shown in the photo below.
 Next, you should snip out the little excess rectangle at the end of each corner.
See photo above and below........
 Then as if wrapping a package, you will fold over the corner and the end
to create mitered corners on your candlemat.
 Pin all corners and along the remaining two sides.
 Slipstitch around this border ............
and you are finished!
 You can also use a blanket stitch or other decorative stitch to secure the border. Adding rick rack or other trim is also an option. I encourage you to use your creativity and make this little candlemat your own design!
 Your completed candlemat should resemble the basic design but beyond that………do whatever your creative little heart desires! Hope you enjoyed stitching!!
5 comments:
Very cute and I love the way you did the binding. Nice tutorial!
Thanks for posting this. It's so cute and will make nice gifts.
Fantastic tutorial, Sandi! I really look forward to making some of these - perfect size for gifts.
Very nice! Thank you for sharing.
c'est superbe, et merci pour les explications en images...
Post a Comment